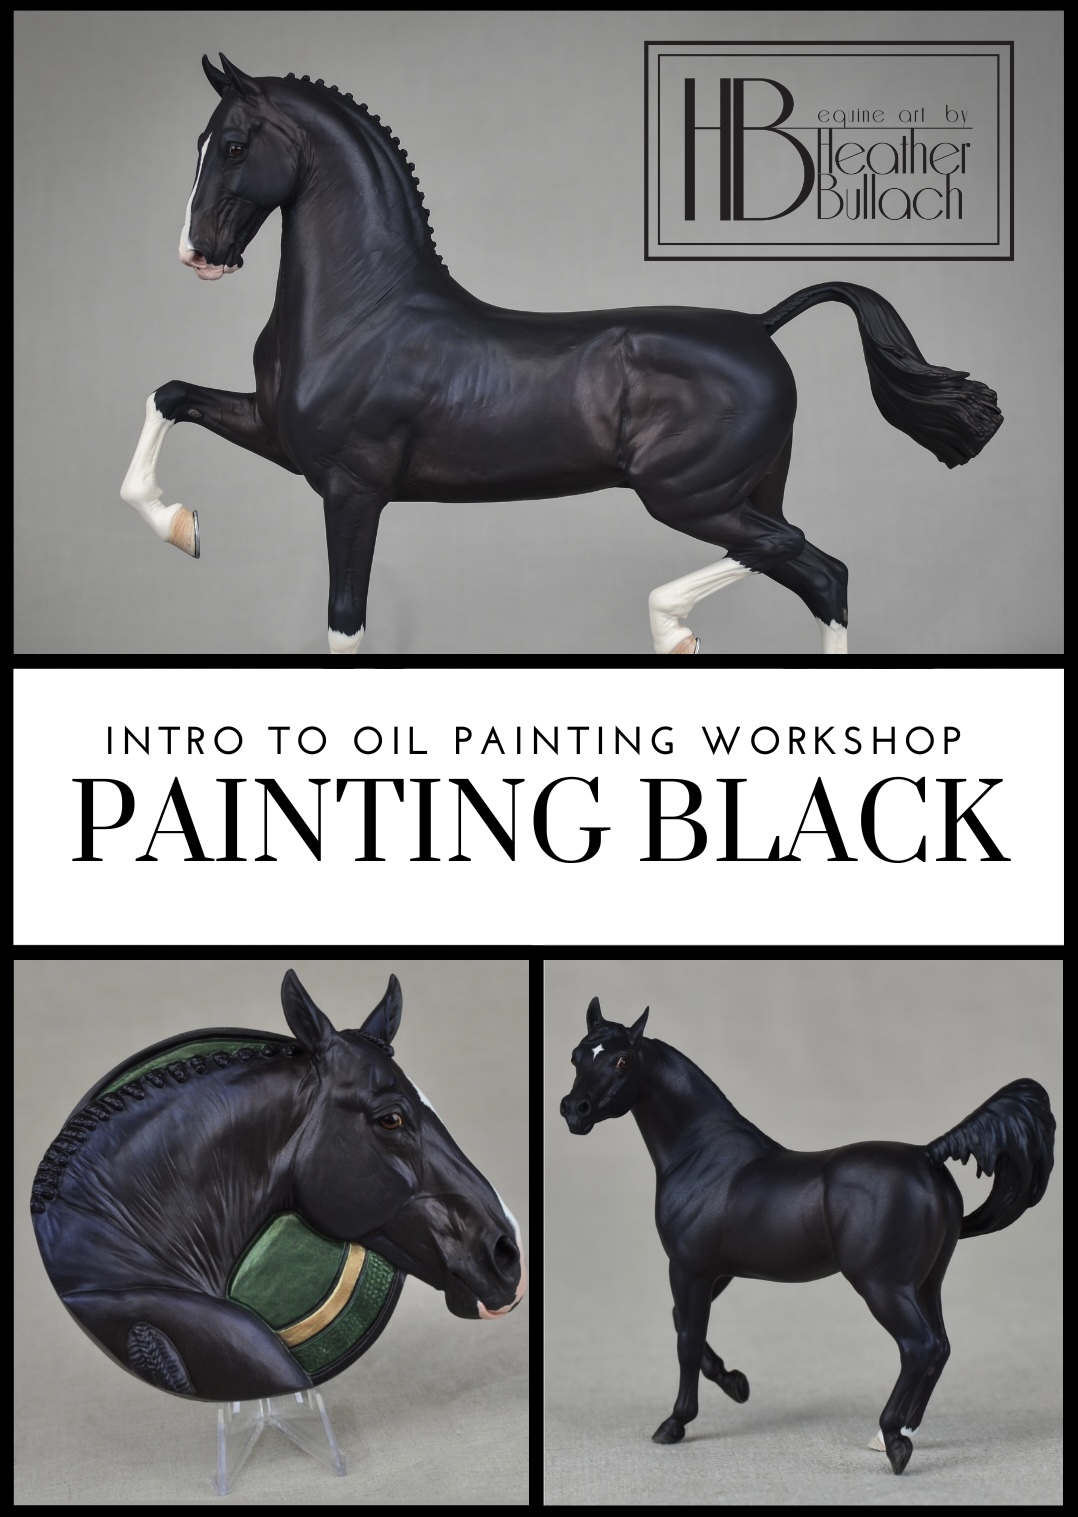
Intro to Oil Painting Workshop: Painting Black – 2025
Join me this February on Zoom for a live workshop as we learn the basic techniques of painting a model with oils! This special edition of my intro workshop is simplified to allow more participants, with a much lower price point, a smaller supply list, and geared to be even more beginner friendly than my Bay and Chestnut intro course. We will still delve further into some more advanced techniques for more advanced painters. So all experience levels are welcome! In four sessions we will cover the basics of applying oil paint to a model, how to incorporate Pearl-ex pigments into oil painting, and how to apply final details with acrylics, all in hopes of completing a model from start to finish within the month of February!
Cost for 4 session course: $60 (or just $30 if you’ve already completed one of my courses!)
If button does not work, you may email me at [email protected]. Please include your name, your email for an invoice, and your email to receive the Zoom links (if different). You may wish to check your spam and add my email to your address book to avoid messages going to your spam folder.
Schedule
We will meet Monday evenings from 8:00-10:00pm EST for three weeks, and Friday evening 8:00-10:00pm EST for the final session. Join live and ask questions as you paint, or watch the recorded session in your own time! Each session is recorded and available for rewatch the next day. Sessions will also be available for some time beyond the month of February if you would like to participate without the time constraint, or rewatch to paint another project!
Feb 3: Apply first layer of oils
Feb 10: Apply second layer, incorporate Pearl-Ex pigments
Feb 17: Acrylic details
Feb 28: Final paint party! Finish details
Oil painting supplies
For the course, you will need the following oils painting supplies. Read below for possible substitutions and eliminations.
•Oil paints: I strongly recommend the Alkyd paints on the list. These will allow for fast drying with no added drying medium needed. If you do choose to use a traditional oil, any brand you have should be fine. Colors are not necessarily interchangeable. I recommend the specific three colors on the list.
•Mediums: A good oil like refined linseed oils is a must. If you have another type you prefer you may interchange that. If you are using traditional oils vs the Alkyd oils on the list, a drying medium is also a must. You may use any dryer you prefer such as Fast dry linseed oil, Galkyd, cobalt dryer, etc.
• Brushes: If you are doing a traditional or classic scale model, you could elimiate one or two of the smallest short handle brushes. You’ll want all three long handle brushes and at least two of the mop brushes.
If you are doing a venti/curio scale model or smaller, you could eliminate the #4 and #6 long handle brush, and maybe add a #4 short handle. One mop should be fine (but one can never have too many mops!).
Pearl-Ex pigments: These two pigments are the two I use to achieve the shading on my black models. If you prefer a super simple paint project, you can use just black oil paint to create an even black finish and eliminate the pearl-ex pigments.
Palette Knife: A must for mixing oil paints!
Supplies you’ll need from home, or from your local stores:
•Paper towels I strongly recommend blue Scott Shop Towels as they are lint free, found in local auto stores or supermarkets. Other brands of shop towels have been reported to have lint. So make sure you are getting Scott brand.
•Tinfoil to use as your palette (or, whatever palette you prefer to use)
•Murphy’s oil soap and an empty jar (you may also use a brush cleaner such as Master’s, or even just dishsoap)
•X-acto knife (or carbide scraper if possible)
•Rubber gloves for cleaning brushes and if you prefer to handle your model with a glove
•Sealer of your choice. I prefer Testor’s dull coat. This will work as a sealer before adding acrylic detailing and as a final matte finish. For satin finishes, I seal with Winsor Newton Professional Varnish in Satin only after all detailing is completed as a final varnish.
Additional supplies for acrylic detailing
For adding acrylic detailing you’ll also want a selection of acrylics and separate acrylic brushes.
•Colors: Must have colors are Titanium white, Bone Black, and Burnt Siena. I strongly recommend also having Titanium Buff (for softer, less stark markings), Yellow Ochre (for shell hooves and eyes), and Alizarin Crimson (for any nose pinking). My preferred brand is Golden Fluid acrylics. You may work with whichever brand you choose.
•Gessos: I also like having a small bottle of white Liquitex Gesso. Gesso is great for adding to your white acrylics for markings for just a bit more tooth and easier application. Black gesso is another fantastic product for building black color fast. It’s especially wonderful as a base coat before painting in oils and can significantly reduce the number of oil layers needed.
•Brushes: The short handle filberts from the list above are great acrylic detail brushes (you’ll want to have separate oils and acrylics brushes, so buy two sets). You’ll also want a good mini round brush. There are many options. My go to is Winsor Newton Series 7 Kolinsky Sable miniature round in size 3/0. You can find cheaper synthetic mini rounds, though know that they will not hold up as long.
•Acrylic Varnish: I love Liquitex acrylic gloss varnish for adding gloss to eyes and hooves.
Select and prep your model
Last, but not least, you will need a model to work on! You may choose any model, at any scale, or even paint more than one!
You should prep and prime your model prior to February 3. You can find many prepping tutorials here: https://modelhorsetutorials.weebly.com
You may choose any primer, but I recommend a red/rust colored primer. My favorite is Duplicolor Sandable primer in Red Oxide. https://www.amazon.com/dp/B001DKPL3C/ref=twister_B07K3JN443?_encoding=UTF8&th=1
Some model horse artists like to use Tamiya. Please note that oils do not adhere well to Tamiya primer. You may still use it, but will need to either seal the primer or apply an acrylic baecoat before starting with the oils.
You should prime your model at least 48 hours prior to putting down your first coat of oils. If you can give it a week, even better!
Questions?
If your question was not answered anywhere above, please feel free to email me at [email protected]
I can’t wait to paint with you all!
Cost for 4 session course: $60 (or just $30 if you’ve already completed one of my courses!)

