Tutorial: Metallic Bay with Pastels and Pearl-Ex Pigments
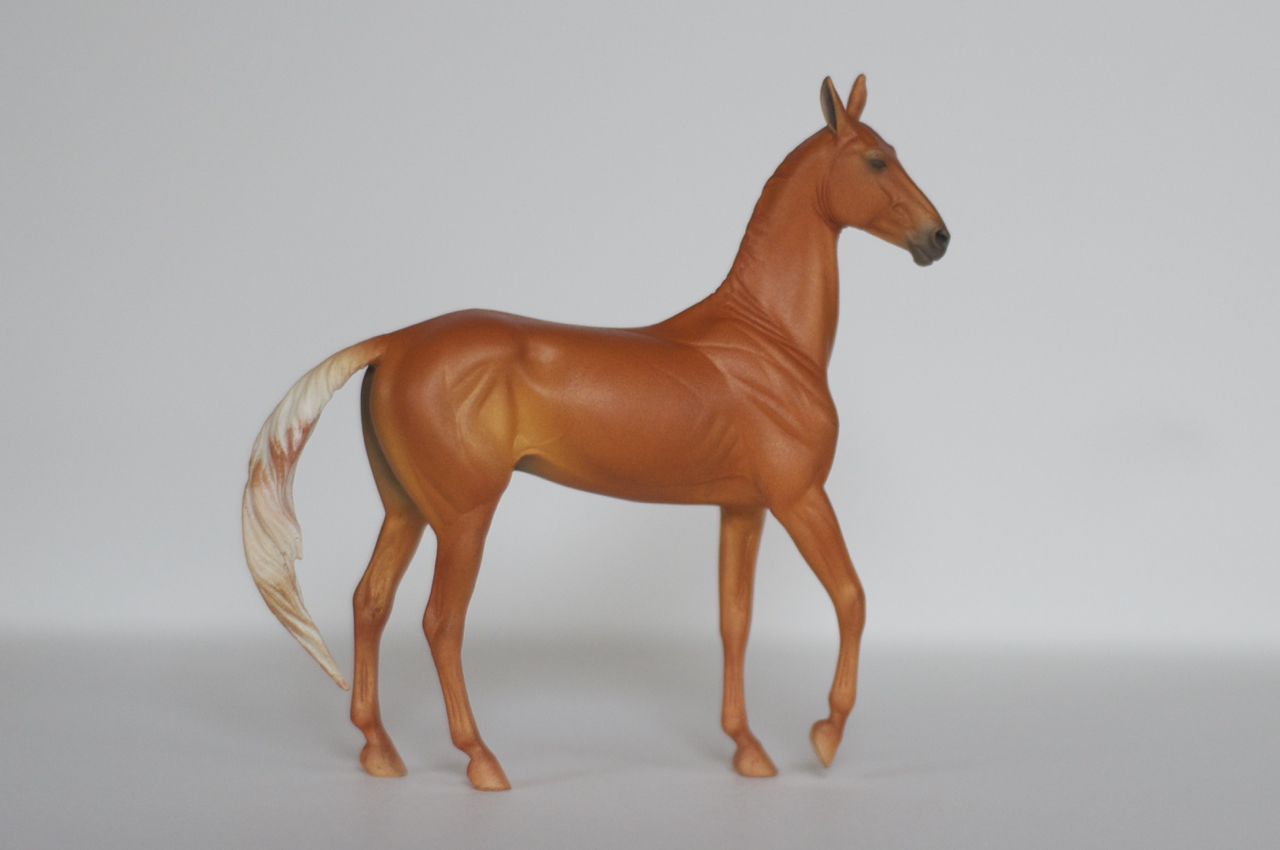
I often post progress shots on my Facebook page, but I have not before shared with you the full process, from start to finish. Here I am going to show you my steps with each layer to creating a bright metallic bay. For this tutorial I’m using Sarah Rose’s mini Khan resin.
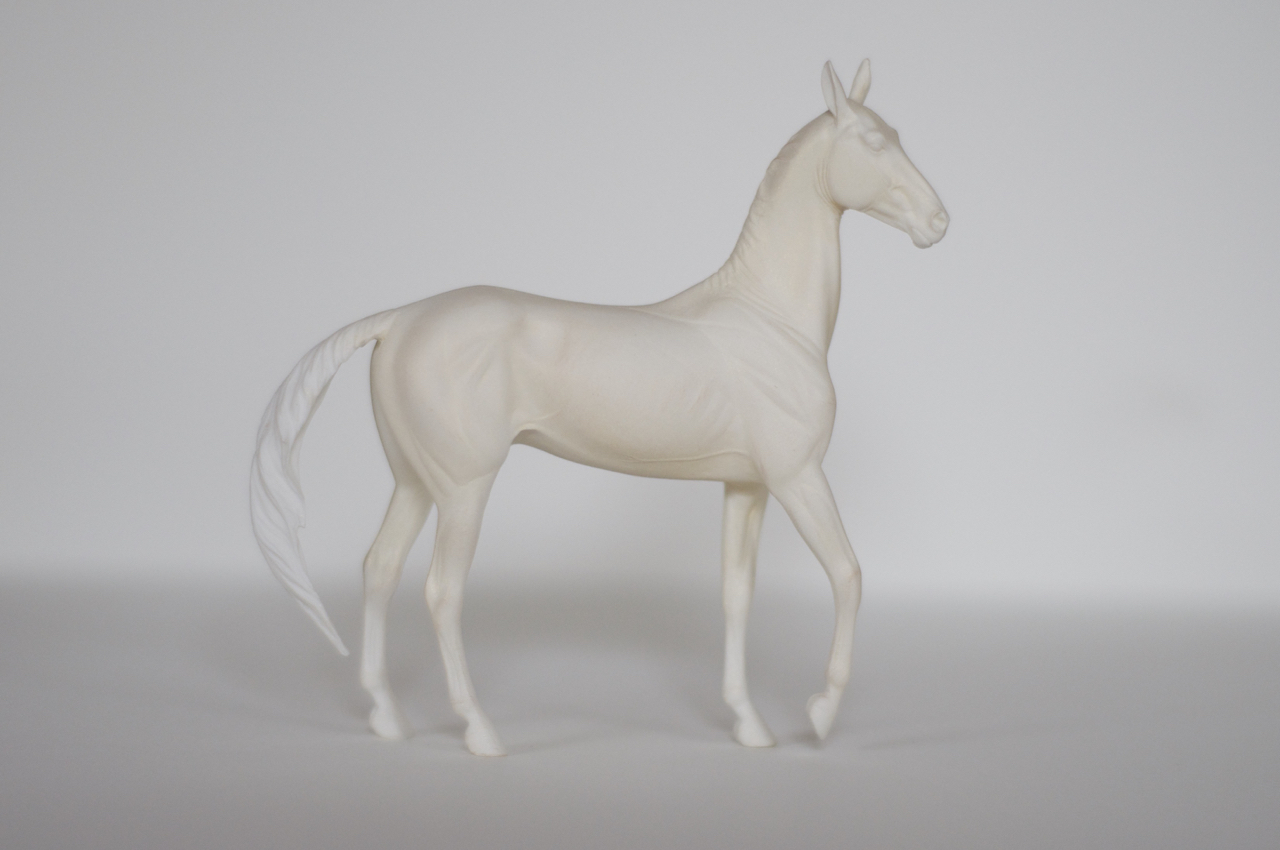
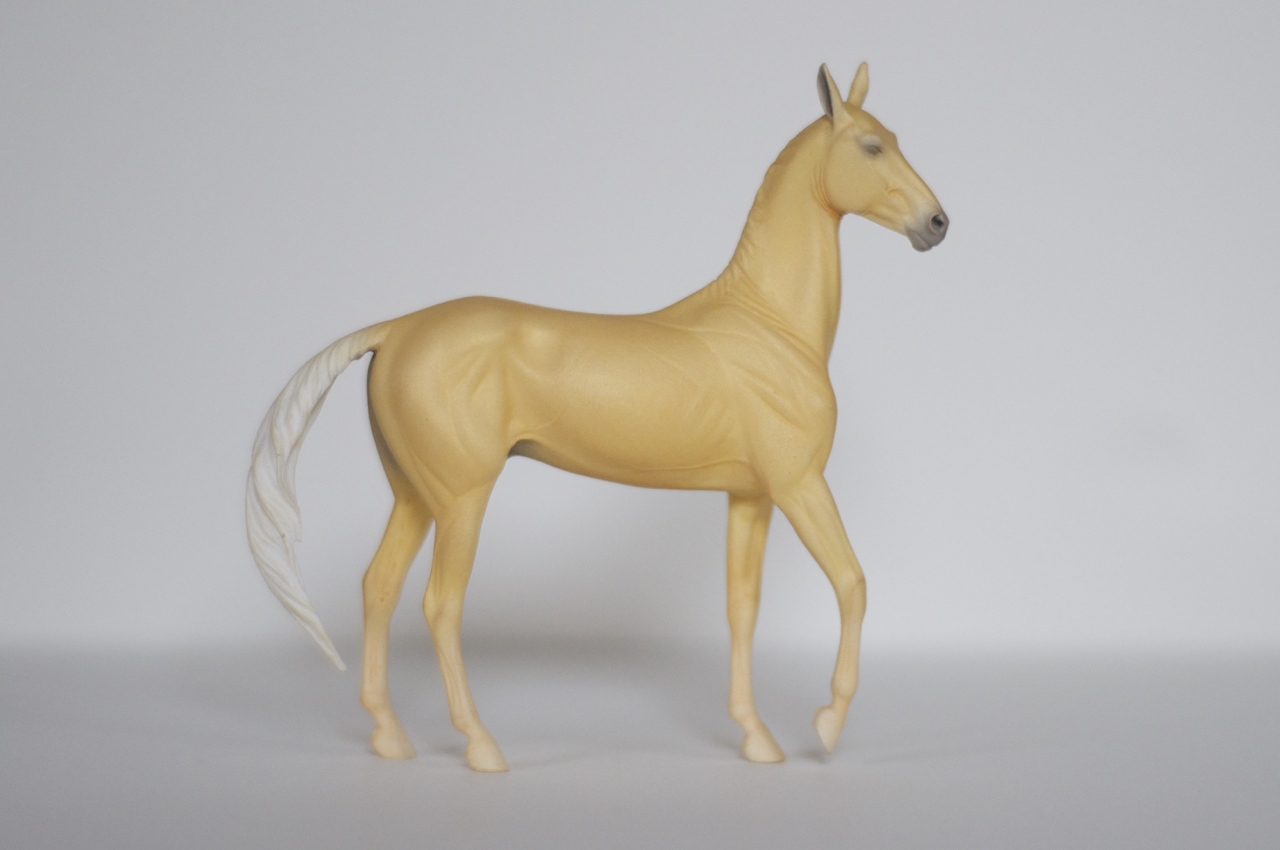
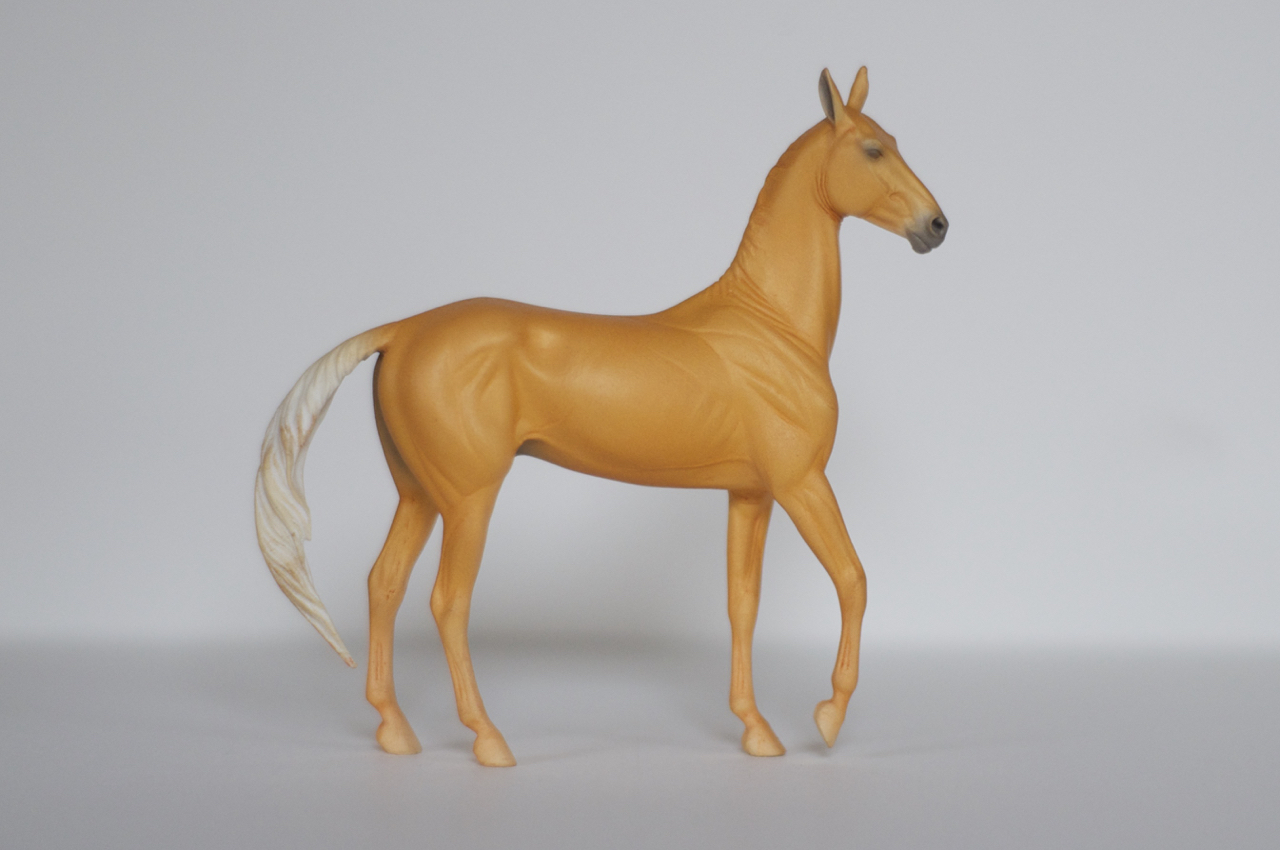
After prepping him and priming him with a white primer and giving him a layer of Krylon Crystal Clear in matte, I went straight for the Pearl-Ex pigments. Since it was my first time using them, I was anxious to see how they would work. In the first layer, the coloring is faint, but I can certainly see the pearlescent finish. (sealed in Crystal Clear after each layer).
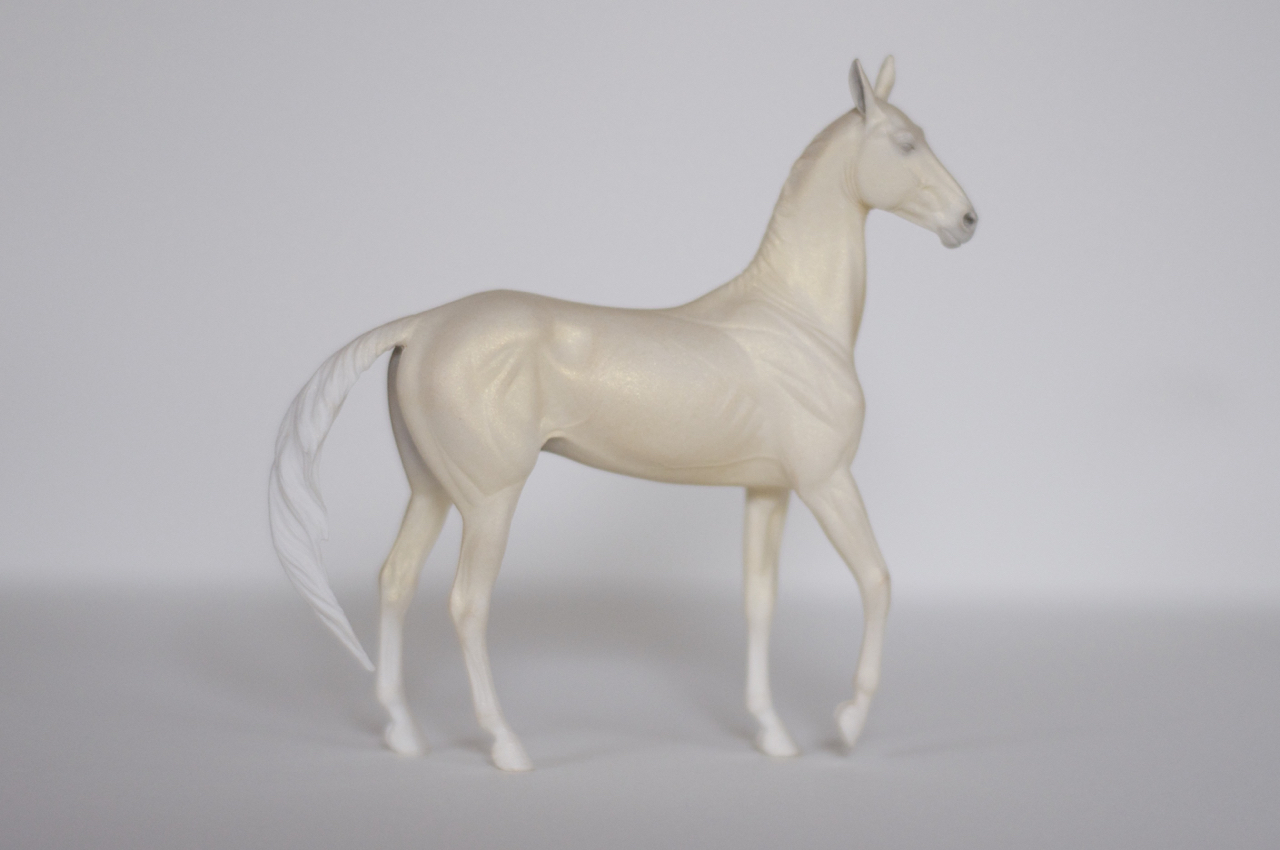
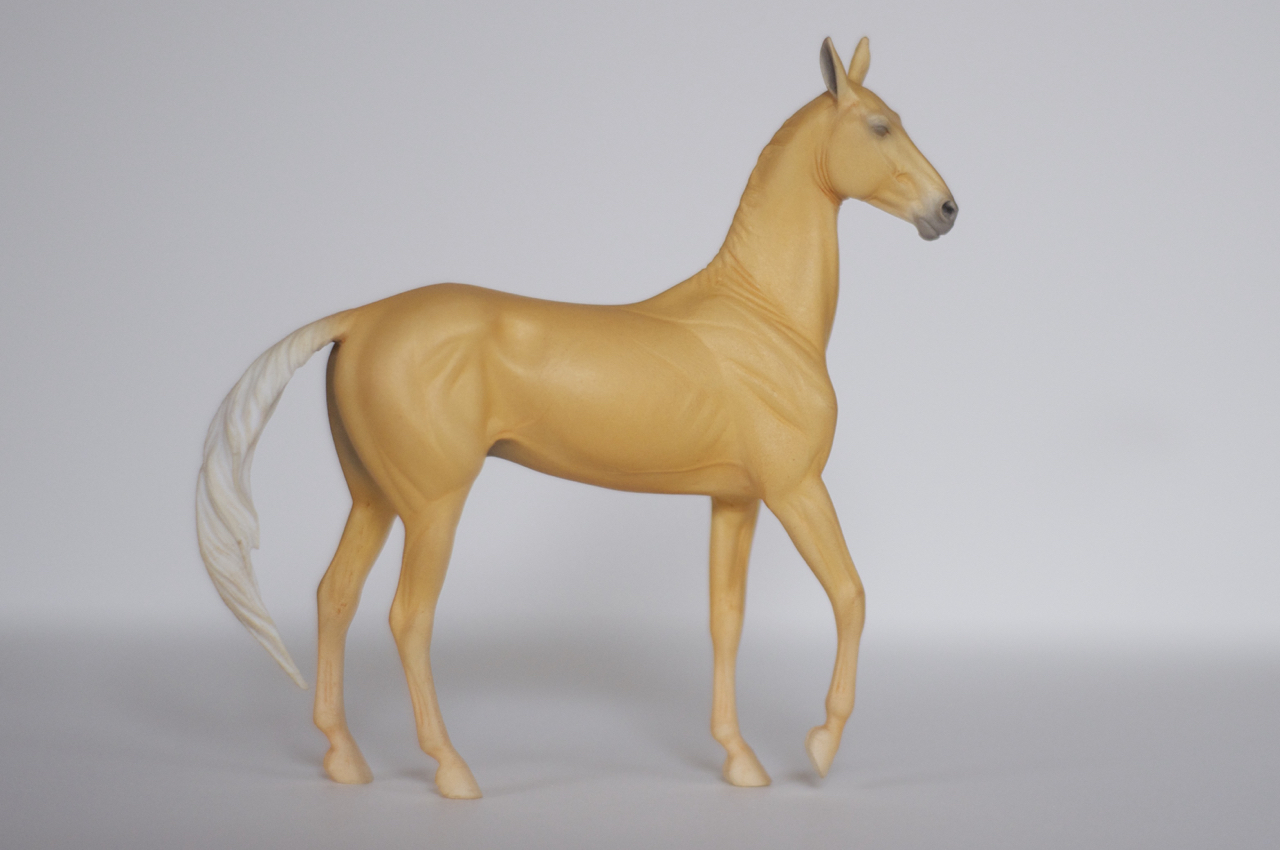
In the second layer, the metallic finish is much more apparent. I’ve also started adding a light grey to his eyes, muzzle, and underparts. I find that if I start each layer with grey in the appropriate places, these areas remain the correct color much more easily than if I were to try to avoid these areas, adding grey at the end. If I hit the desired darkness before I’m finished with the body color, I just use a slightly lighter grey for the remaining layers.
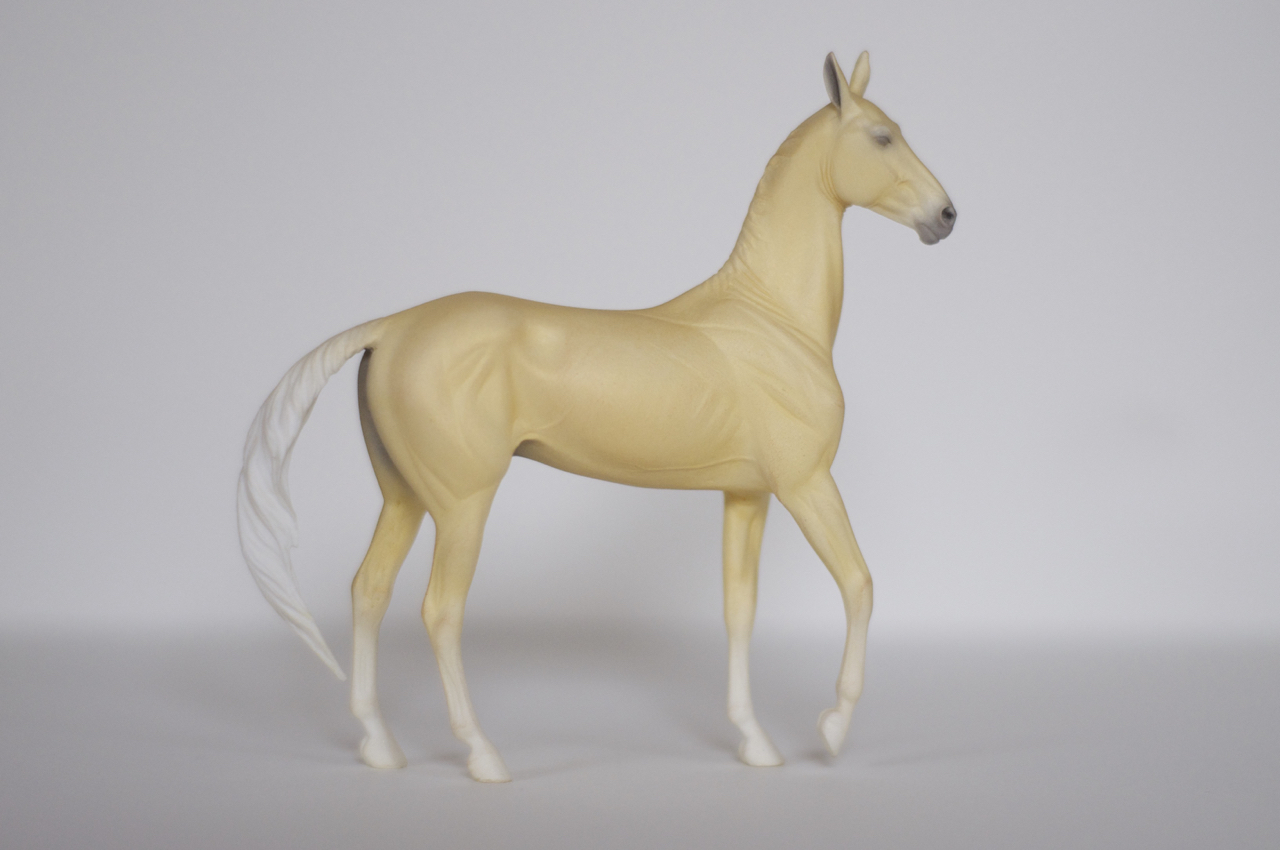
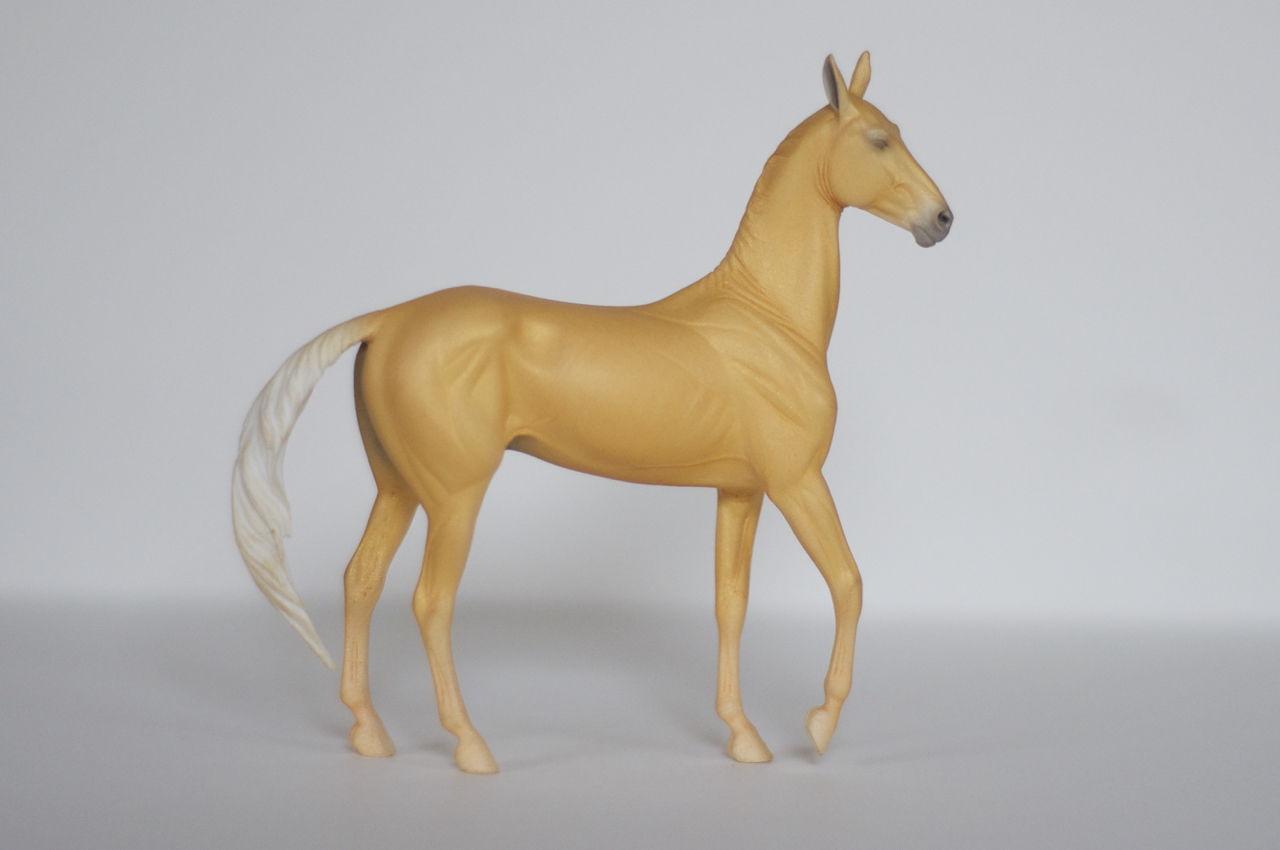
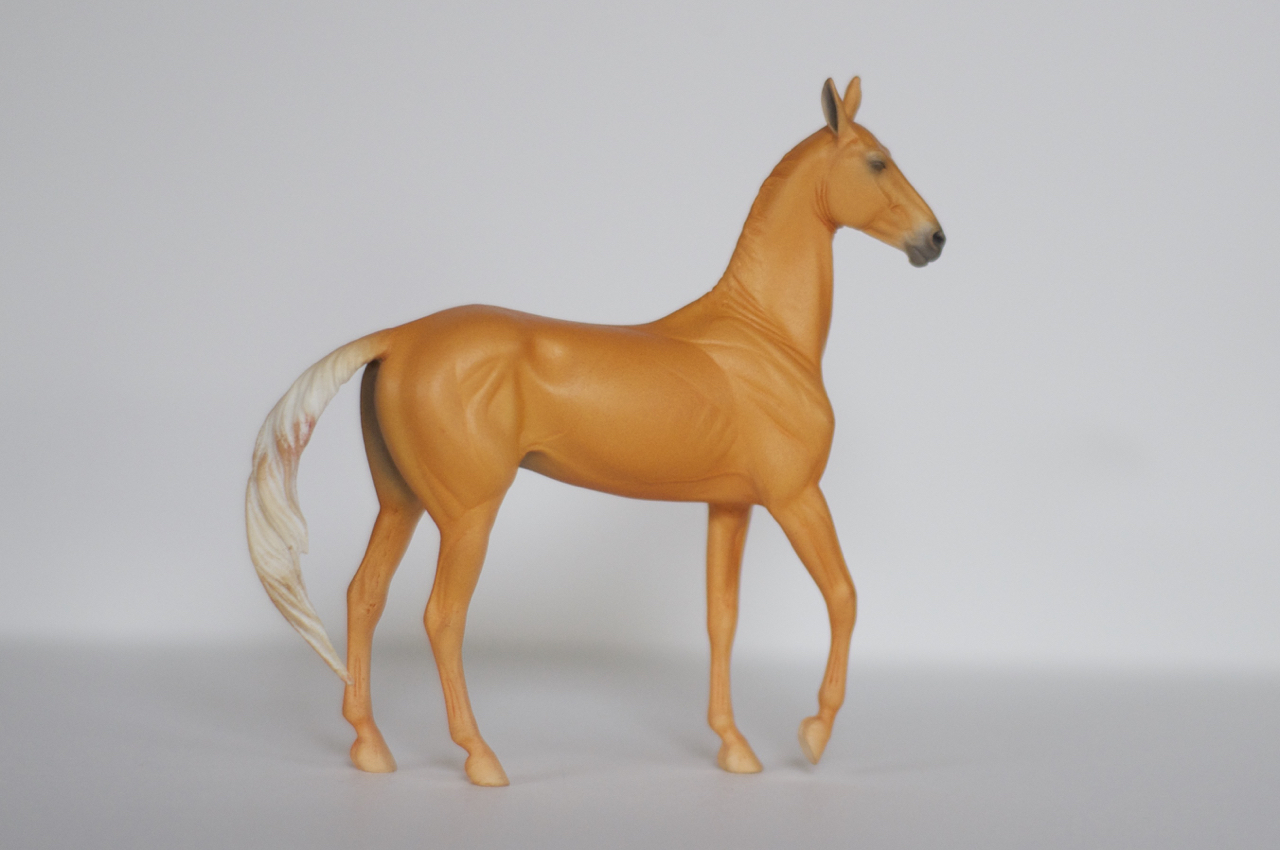
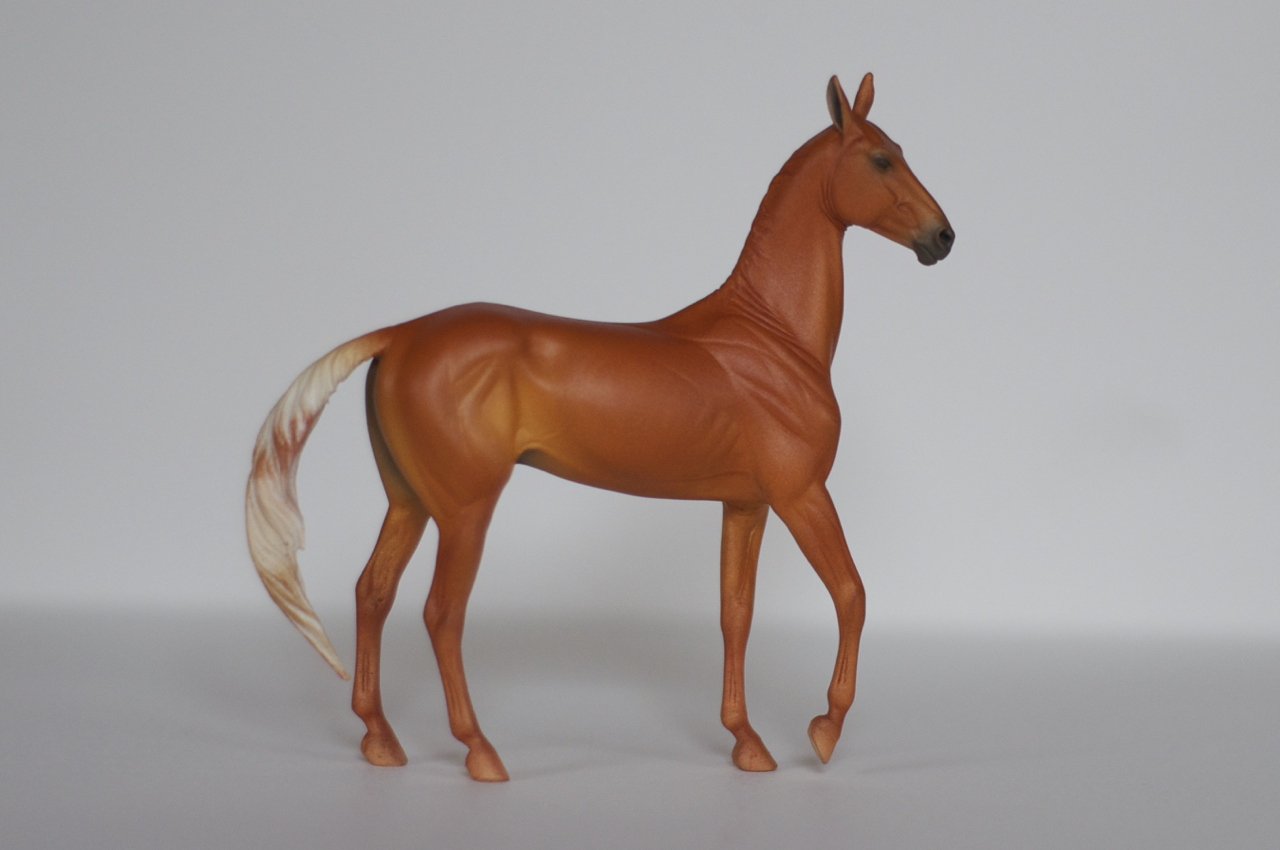
Now that I had a decent sheen, I needed to start building color, beginning with a nice golden yellow. I did two layers of this.

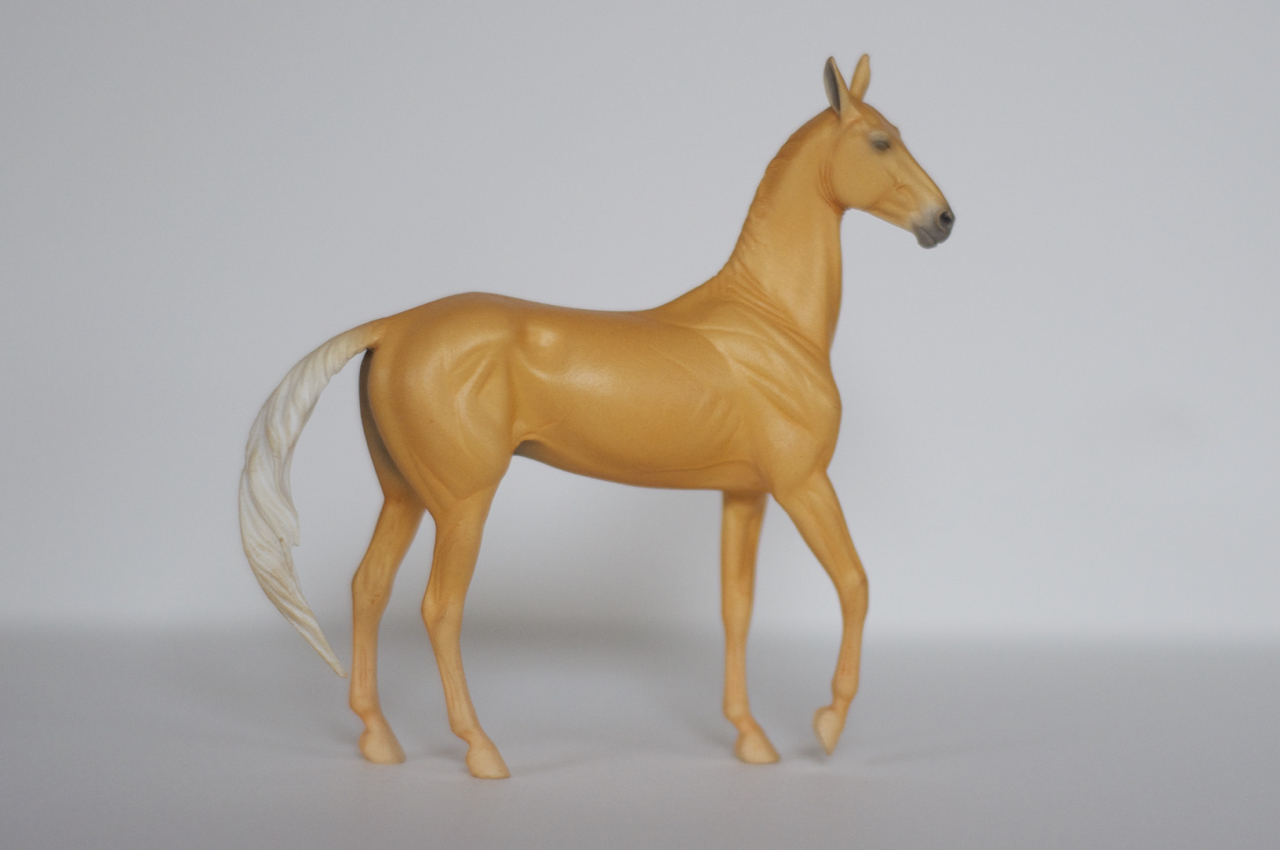
Next, I built the color further with two layers of orange.
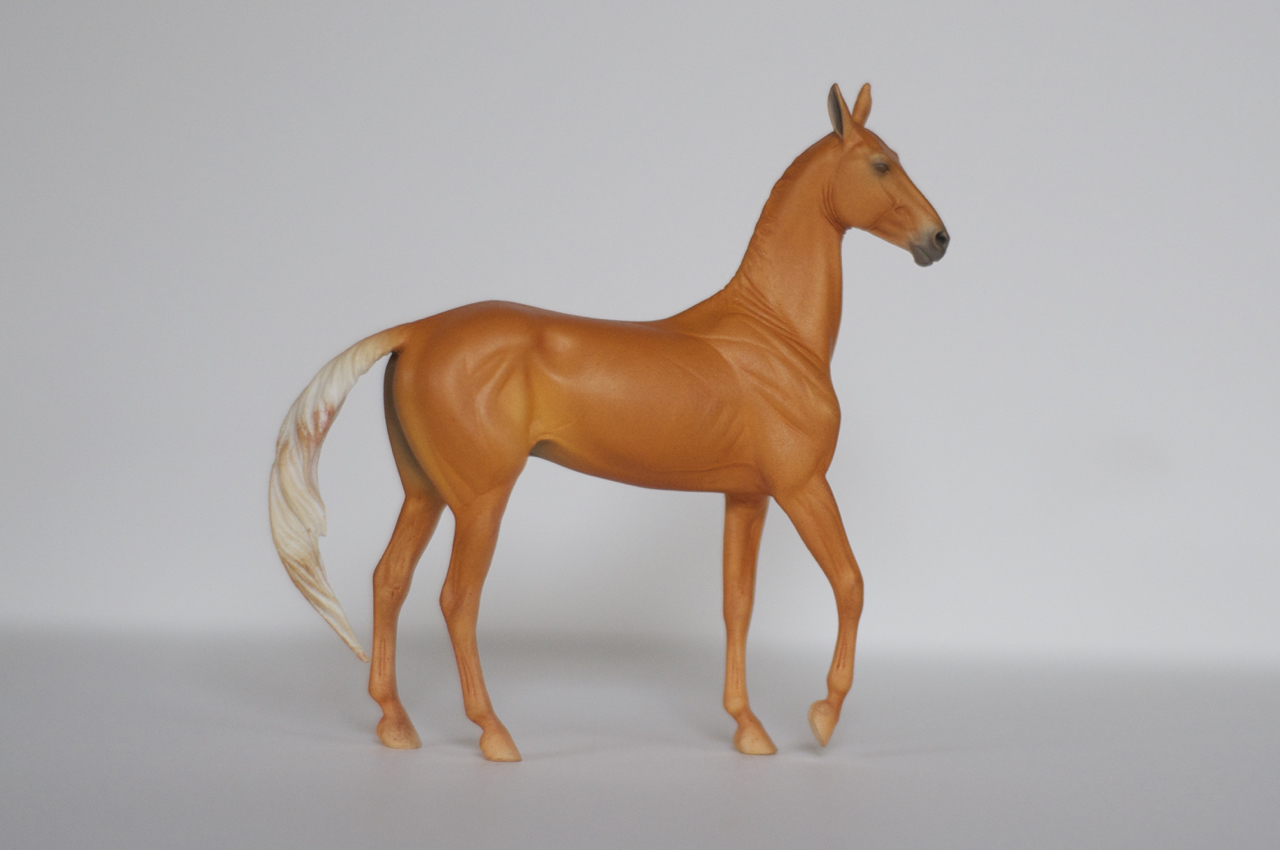
At this point I could see I had lost a bit of the luster under the layers of pastels, so I added another layer of the gold Pearl-Ex. On a darker base, the gold really popped a lot more.
I need a brighter color yet, so I added one more layer of orange pastels.
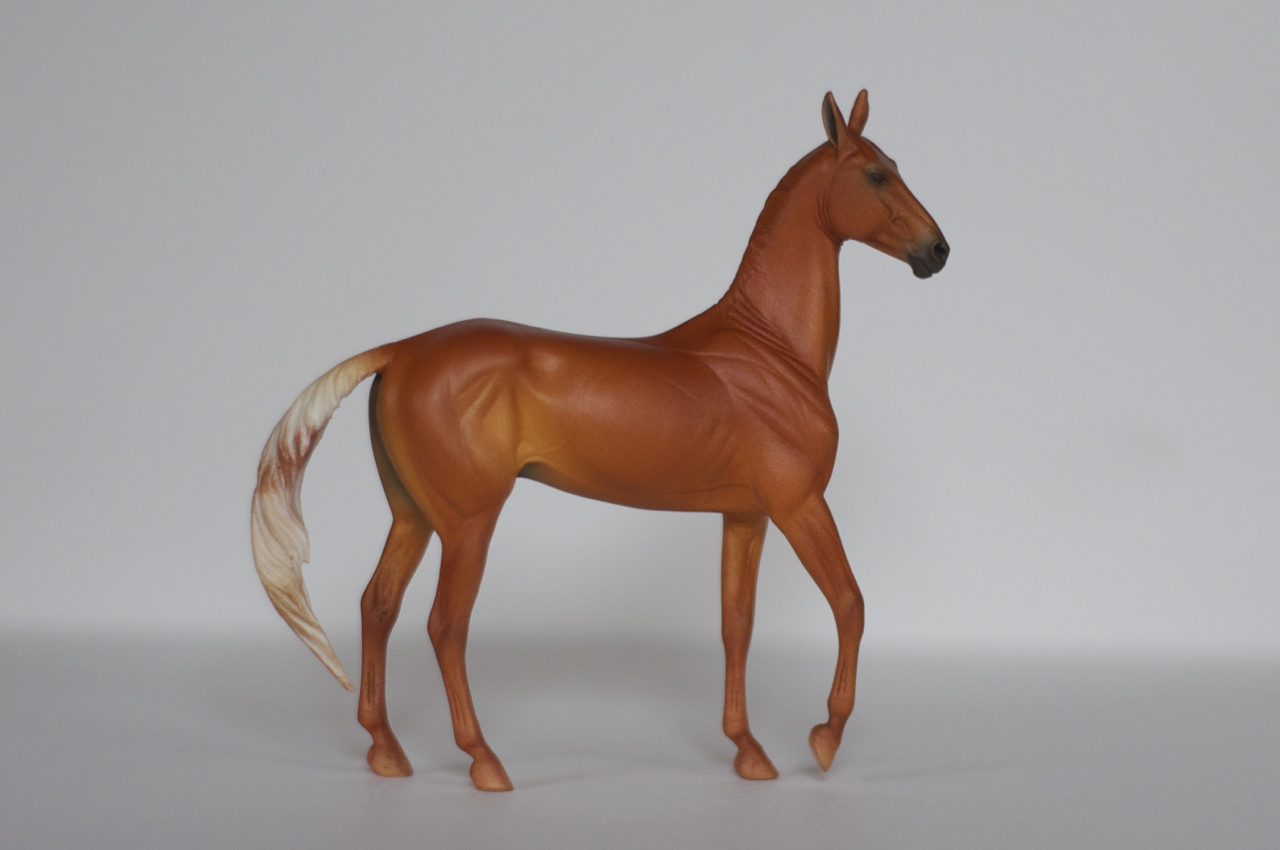
After I felt the brightness was sufficient, I needed to soften and darken the color, so I started added more natural horse tones with a soft brown color.
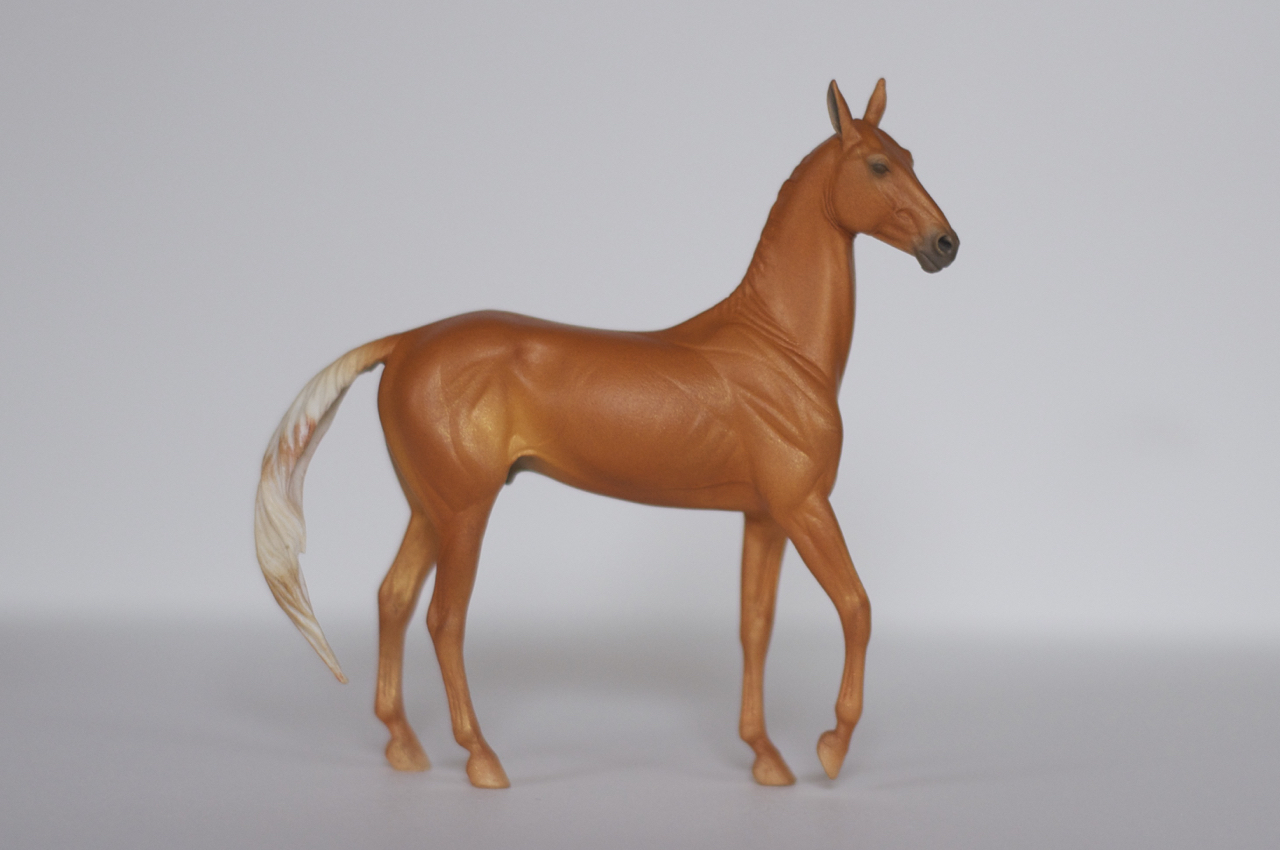
Now I started on the rich, reddish brown pastels. This is also the first layer I began creating definition by leaving areas like the flank untouched. Its difficult to see the difference now, but after a few layers the different will be evident.
Next I took a similar but darker color: A nice medium brown with some red tones. Again, avoiding lighter areas.
I started loosing some of the luster again, so I added another layer of the gold Pearl-Ex.
Some nice straight red pastels added some wonderful warmth.
I took those same red pastels and added some dark brown to deepen them. I’m also avoiding more areas, like the insides of the upper legs, the underside, etc.
Again, I used the same red/brown mixture, just adding more of the deep brown.
I felt I was loosing some richness, so I went for another layer of straight red. At this point, I started on the points. In my reference, I loved the way the legs were not solid black as you often see in bays, but were darker around the joints.
Again, I was loosing the luster of the Pearl-Ex behind layers of pastels. This time I used copper colored Pearl-Ex, applying just in the darker areas.
At this point I was really happy with the overall color, I just needed to add depth. I used a very dark brown along the top line, in creases, etc. I did this for the next two layers.
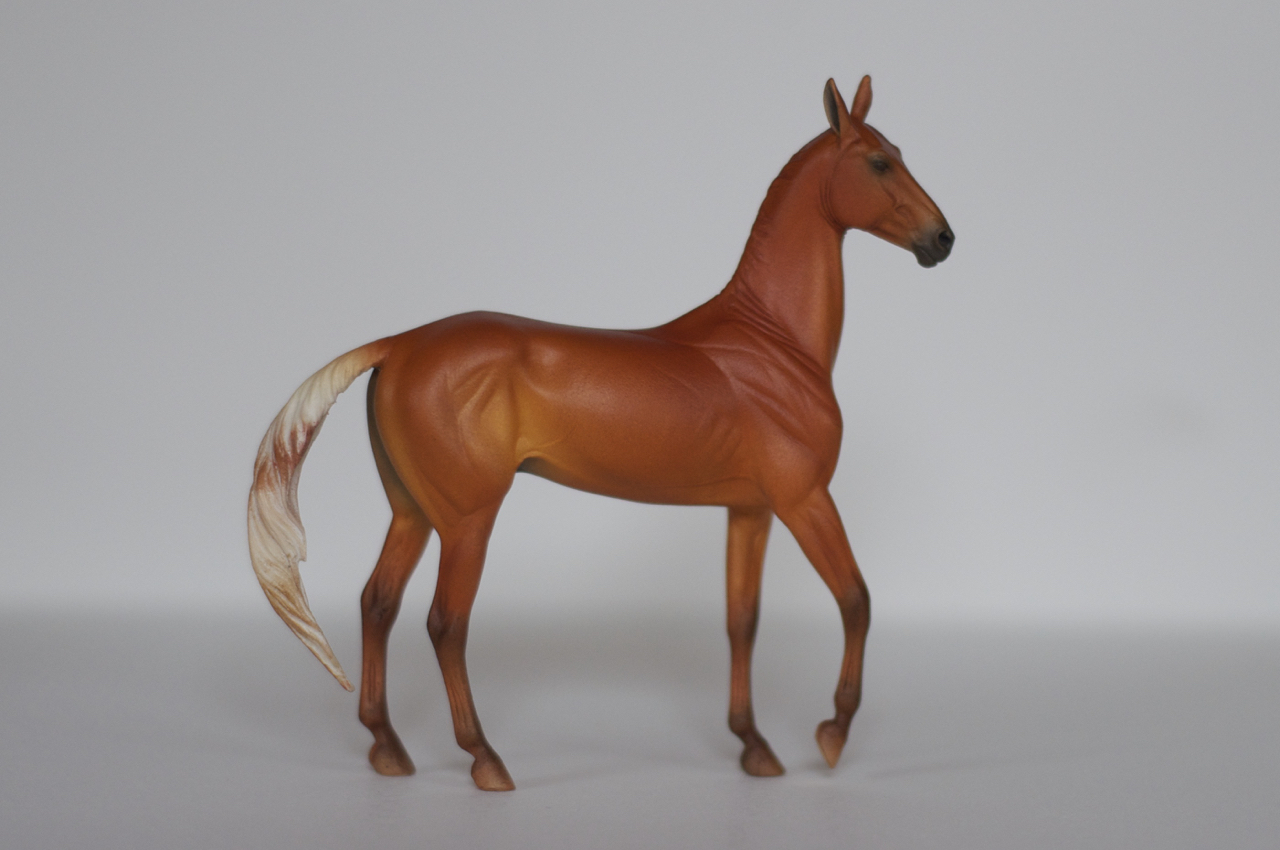
Finally, I wanted to finish him with the Pearl-Ex pigments, so I carefully applied both colors, the gold to the lighter areas, and the copper everywhere else.
After sealing in Crystal Clear once more, I used Testor’s Dull Coat as I find that has a much better tooth for applying acrylics. I used acrylics for his mane and tail and eyes. For his hooves, I used an acrylic base, with detailing done in colored pencil. Typically, I use Testor’s as my final sealer, but for this piece, as I wanted it to not be quite as matte, I used the Crystal Clear for the final seal, applying a few layers. Finally, for the gloss on his eyes and hooves, I used Liquatex acrylic medium in gloss, applying a few layers on the eyes, and one watered down layer on the hooves, for a more subtle gloss.
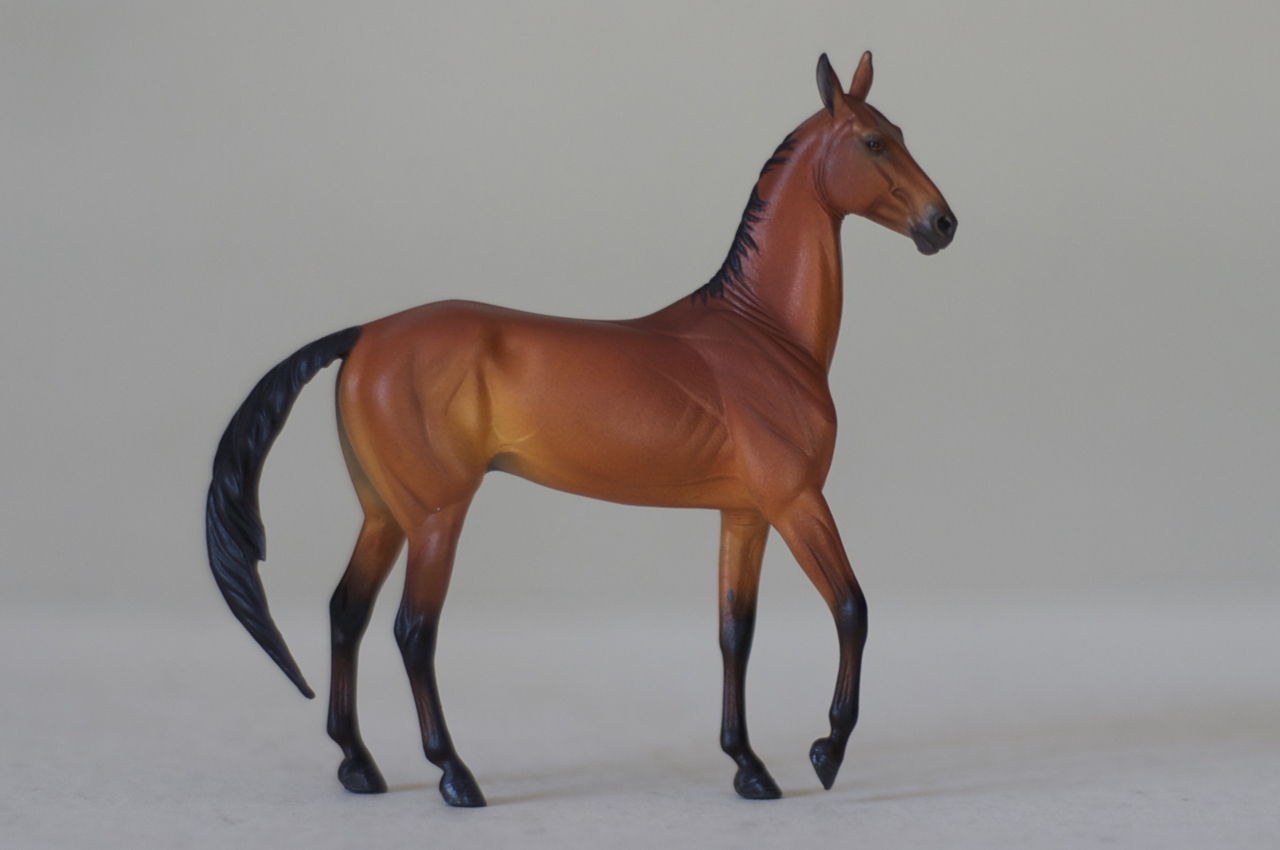
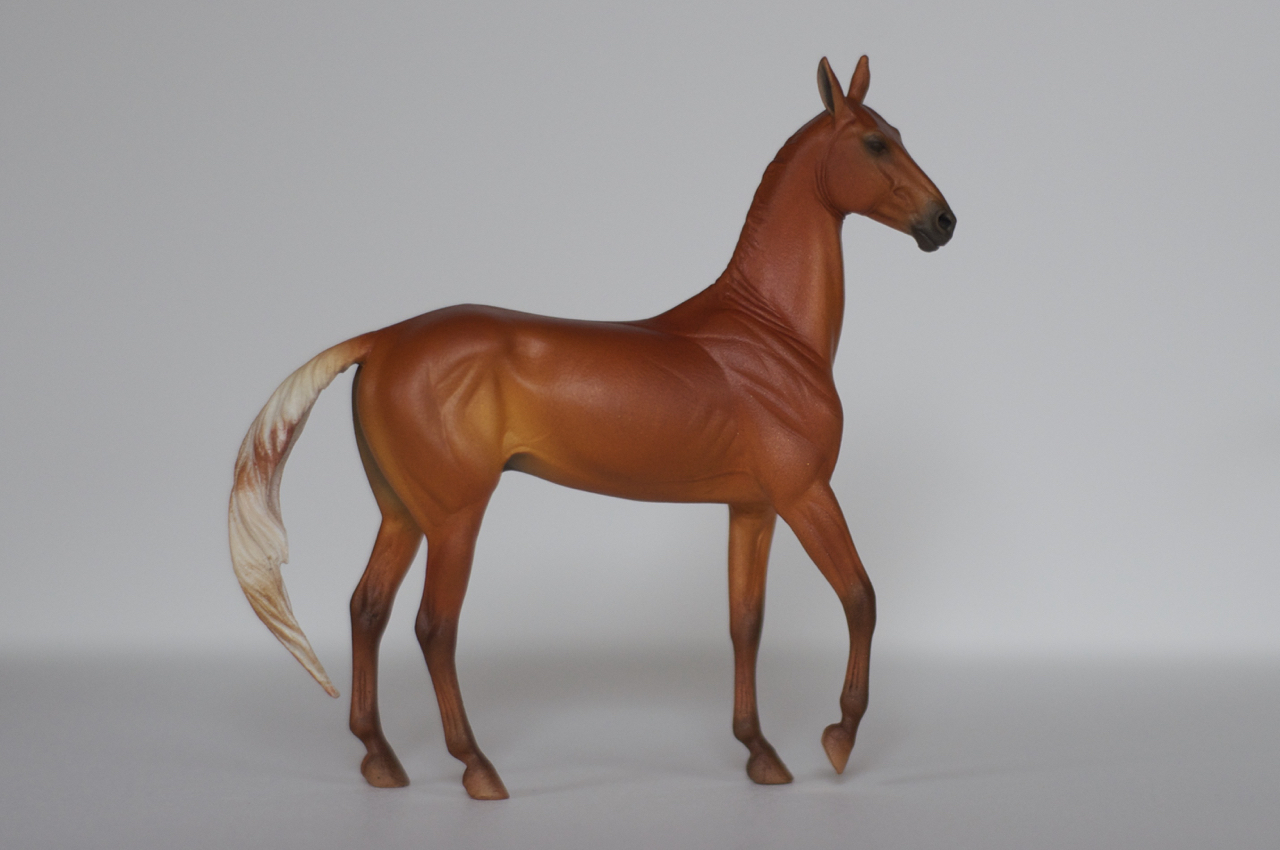
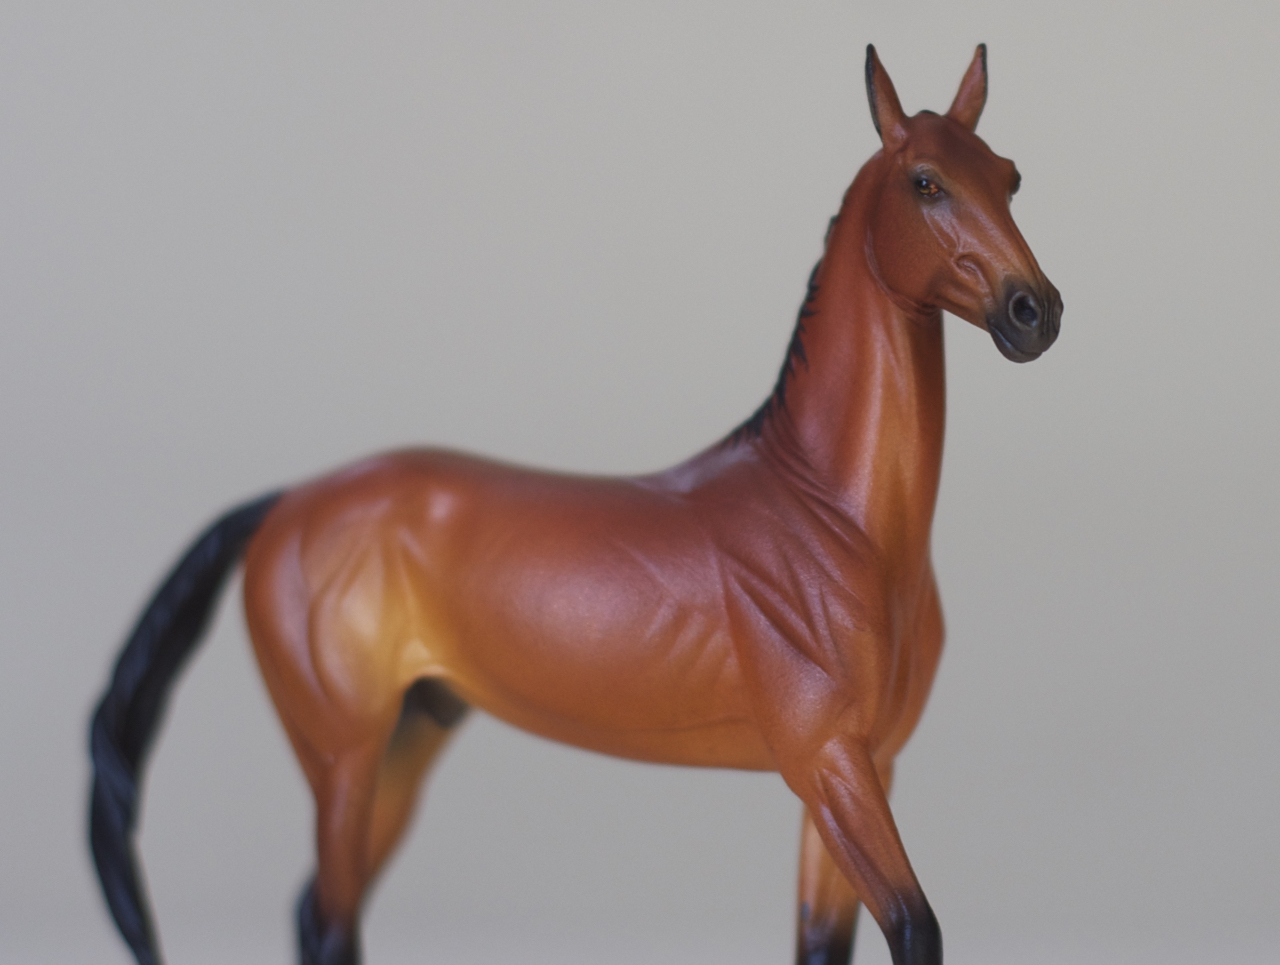
Here is a shot that better shows off the metallic sheen.
And here are all 20 layers in succession:
For more photos, check out his page here.